Setting up an authorization code application
Step 1. Authorization Code Setup
Creating an authorization code app
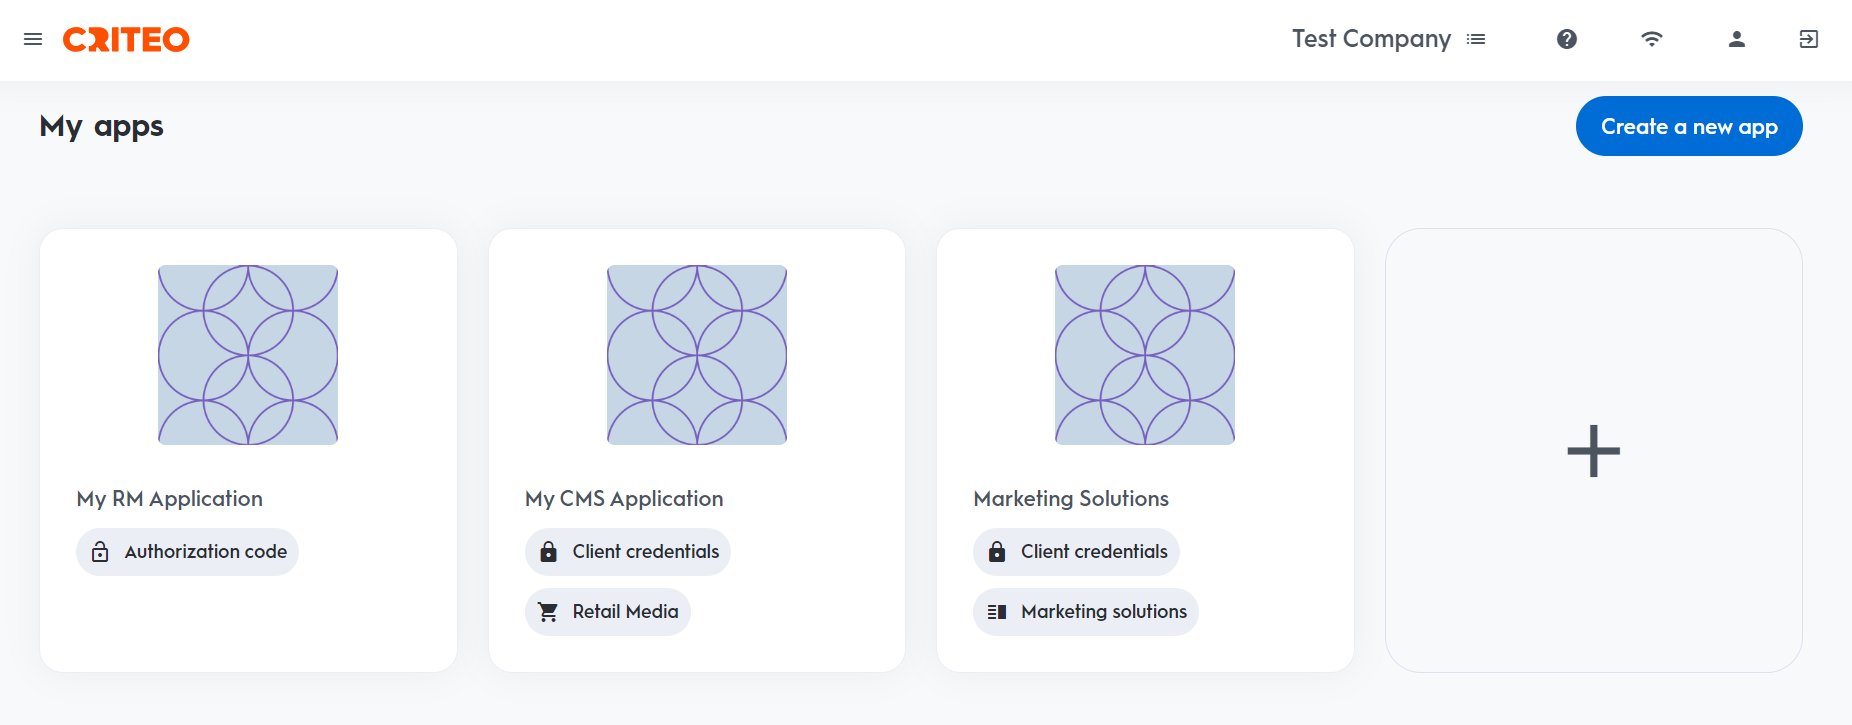
Log in to the Criteo Partners Portal and create a new app by clicking the ➕ button in theMy apps section.
Create app
App details
- Provide your app name and description. Optionally, add an image to identify your application.
- On your app page, you can define the scope of your application and OAuth parameters. For more details, please refer to Getting connected to the API.
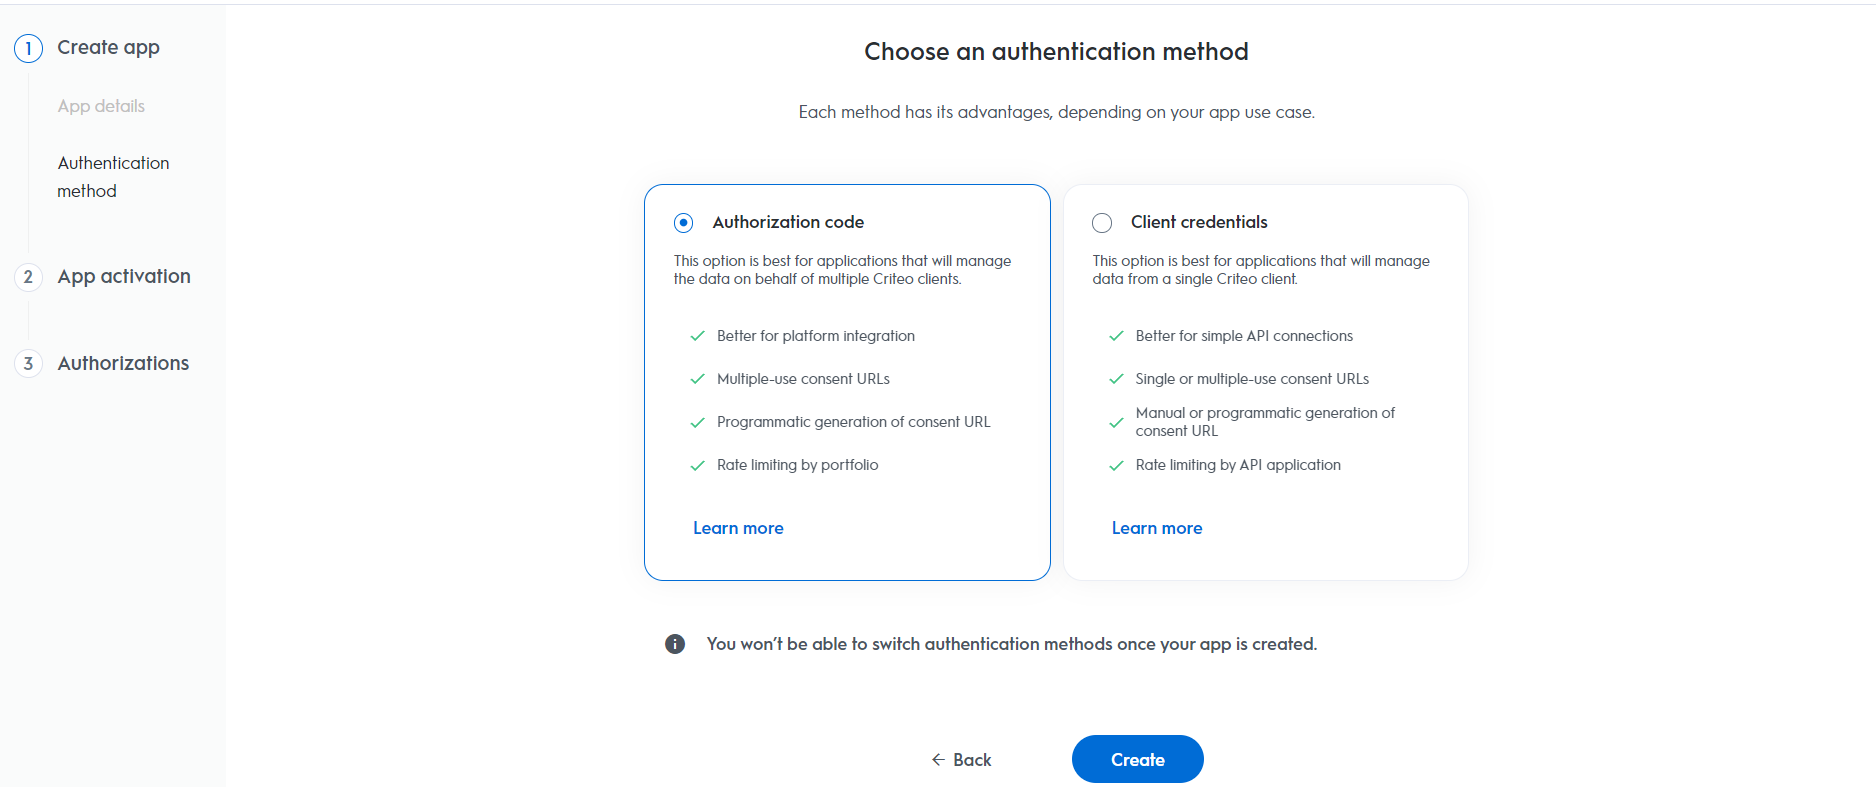
Authentication method
- Select your app’s authentication method: choose between “Client Credentials” or “Authorization Code”.
- For this setup, we are selecting “Authorization Code”, but you can review our OAuth App implementation guide to determine the best option for your organization.
App activation
Service
Choose the Criteo service your API application will use: select C-Growth for Marketing Solutions or C-Max for Retail Media.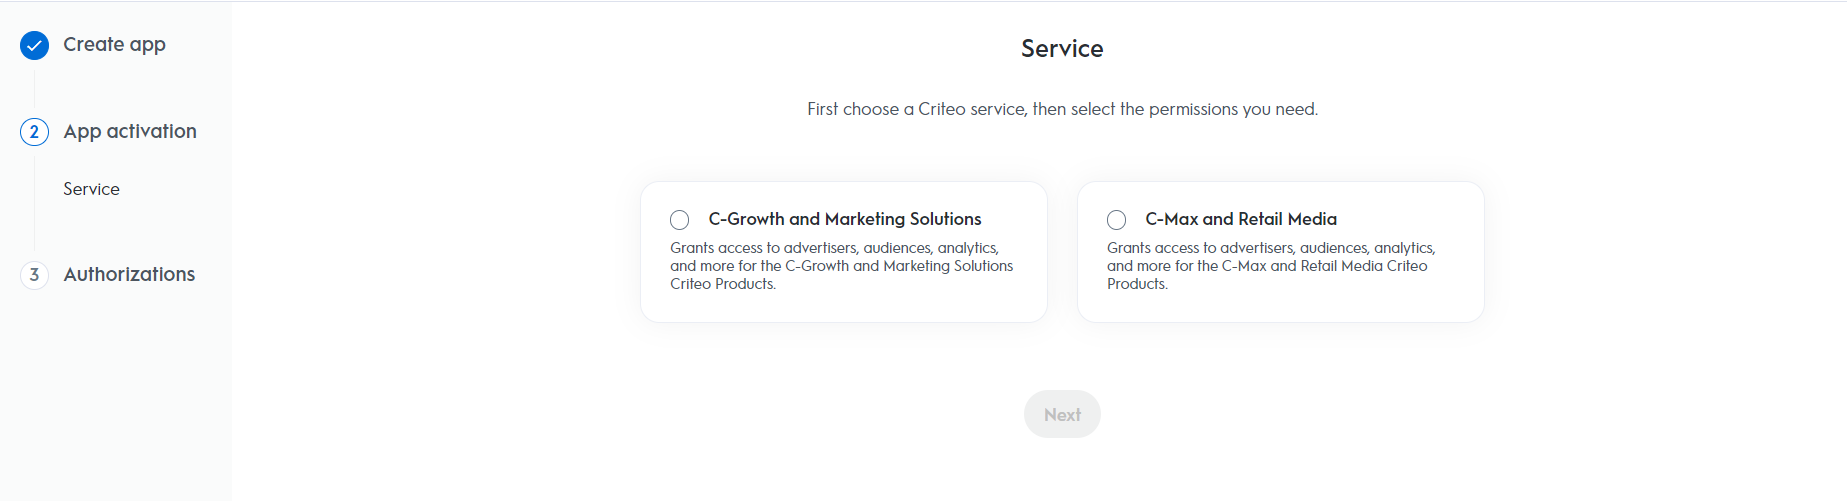
Authorizations
Domains
Choose the domains that define the permission access your application needs.
Activate app to activate the application.
Redirect URI
- For applications using the authorization code workflow, you need to specify a Redirect URI as part of your app scope.

Step 2. Set Up Your OAuth Parameters
After defining your application’s scope, set up the necessary parameters for the authorization code workflow.Parameters | Description |
|---|---|
| Your public key, accessible in the app credentials section. You can manage up to 5 pairs of credentials, even after the app has been activated. |
| Your secret key, accessible only once when creating a pair of |
| The URL to redirect the user to after consent. Requires HTTPS. You can add up to 30 redirect URIs, manageable after app activation. |
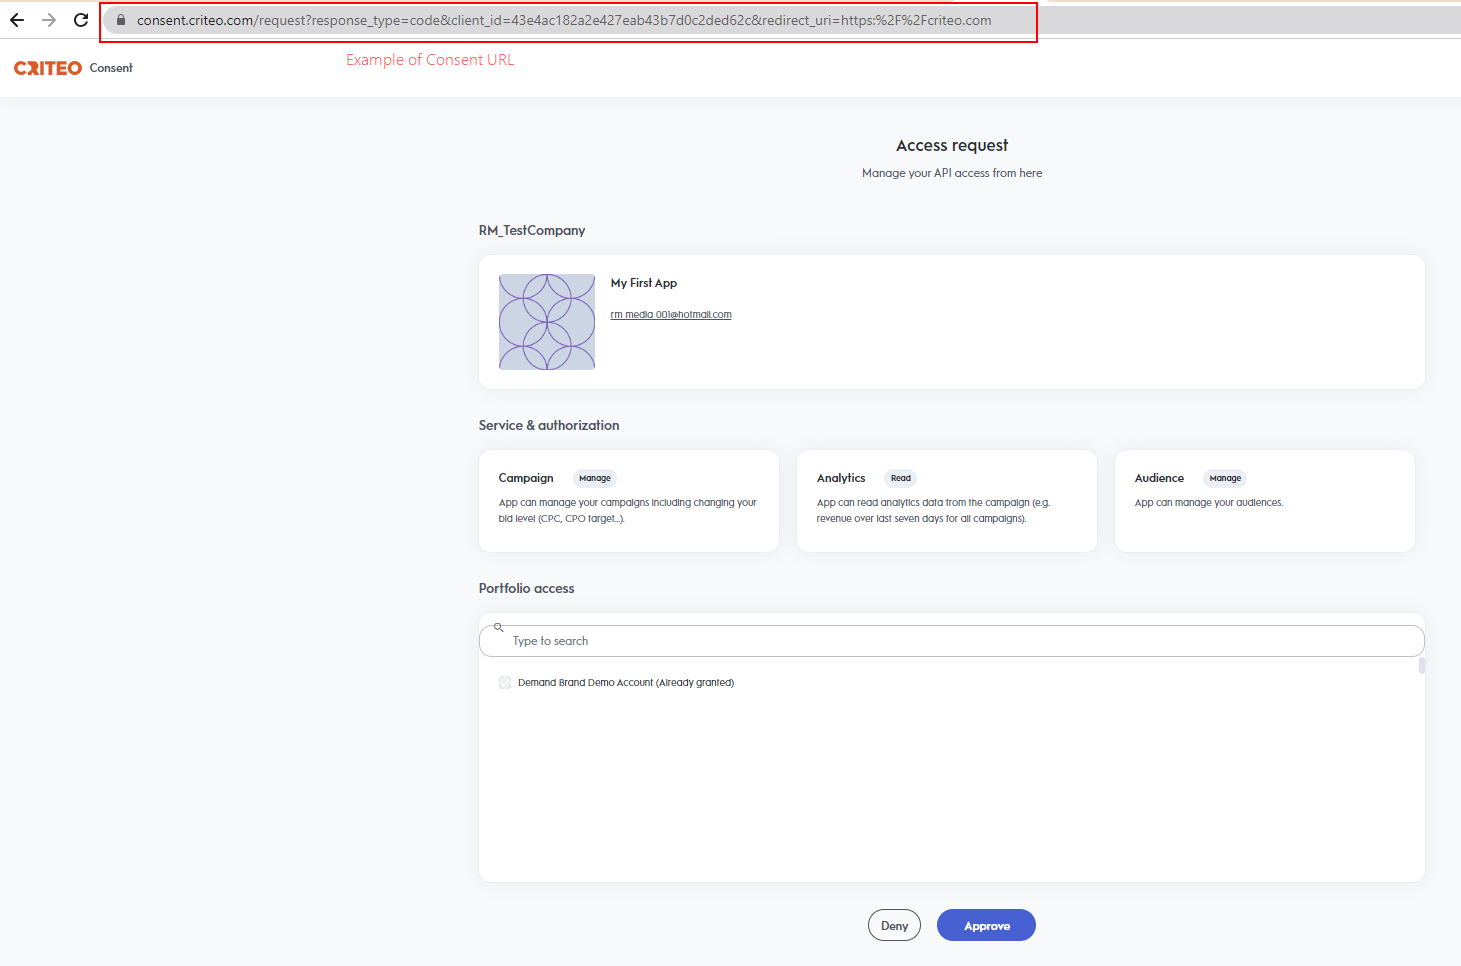
Consent URL Creation
Once your app parameters are set, you can implement the authorization code flow.Consent URL
- To request access, create a Consent link that redirects the user, using the following structure:
Generate Consent URL button is not present in the partner portal for the authorization code workflow. This is because, with the authorization code method, you need to provide a redirect URI specific to your organization. Therefore, these URLs must be configured directly within your workflow.Parameters | Required | Description |
|---|---|---|
| Yes | Indicates that an authorization code is expected as outcome. |
| Yes | Your public key from the app credentials section. |
| Yes | The URL to redirect the user after consent. Must match the configured URI. |
| No | Optional string to prevent Cross-Site Request Forgery attacks. |
- The consent link directs users to the
Criteo Consent page, where they can select which advertisers to grant access to and approve the request.
- The
client_iddoes not match a published API app. - The
redirect_uriis unauthorized. - There is an unexpected backend error.
Redirection and Access Code
Upon completing the Consent Delegation, users are redirected to a URL similar to the example below:redirect_uri and the following query parameters:
Parameter | Description |
|---|---|
| A single-use authorization code valid for 60 seconds. |
| The originally provided state parameter, returned as-is. |
error query parameter instead of a code.
Step 3. Exchanging Access Code For Access Token
With an authorization code, you can request an access token via aPOST request:
Example
Parameter | Description |
|---|---|
| Indicates that you are providing an authorization code |
| Authorization code returned during redirection |
| Must match the |
| Your public key from the app credentials |
| Your secret key, accessible when creating credentials |
Parameter | Description |
|---|---|
| A short-lived (valid for 900 seconds) access token. |
| A long-lived refresh token (that expires after 6 months) that can be used to renew the access token (see next section). |
| Type of token. |
| Lifetime of the token in seconds. |
Using the refresh token
To renew an access token, use the following request:Parameter | Description |
|---|---|
| Indicates that you are providing a refresh token. |
| Refresh token shared when requesting an access token. |
| Your public key accessible in app credentials section. |
| Your secret key, accessible only once when creating a pair of |
Demo
Below is a demo application code (index.js) in NodeJS using the Express JS framework:Run the demo
- Run
npm install, - Connect to the developer portal and create an app.
- Create an “Authorization code” app.
- Generate app credentials and enter the
client_idandclient_secretinindex.js. - Register “http://localhost:3000/criteo-auth/callback” as the redirect URI.
- Run
npm run start, - Open http://localhost:3000.